The Google Calendar Pro add-on for Simple Calendar uses OAuth to connect securely to Google. In turn this allows access to both private and public calendars and additional display features such as event colors, attendees and attachments.
Don’t have the add-on yet? Get the Google Calendar Pro add-on here.
Setting up an Google OAuth client is almost as easy as obtaining a Google API key as used by the default settings in the core Simple Calendar plugin.
Here are step-by-step instructions to configure a Google OAuth client for Google Calendar Pro:
1. Navigate to the Google Developers Console.
2. If you’ve already created an app for the simple Google API key method, you can use this app for a Google OAuth client also. If so, skip to step 5.
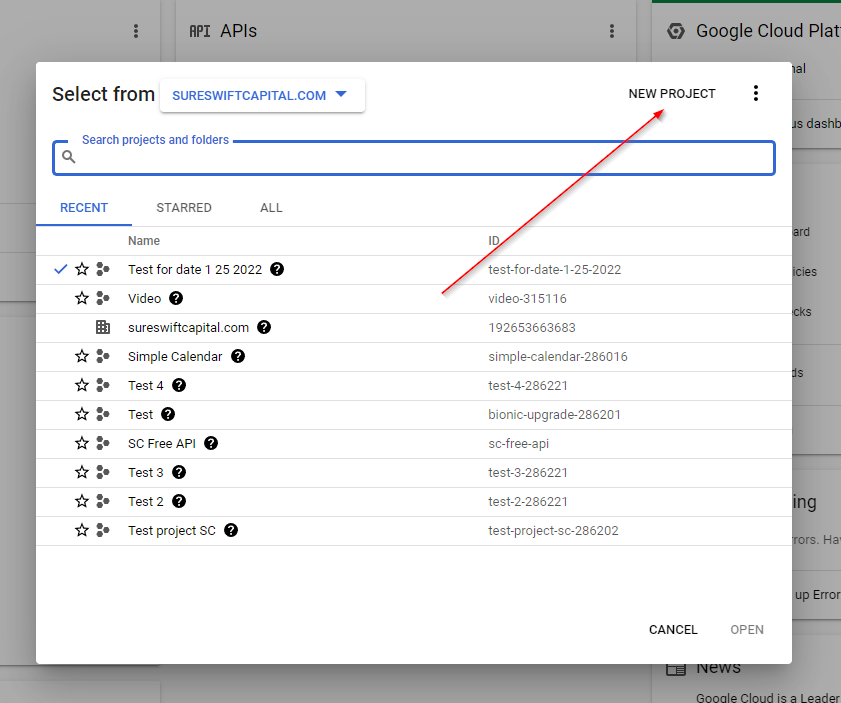
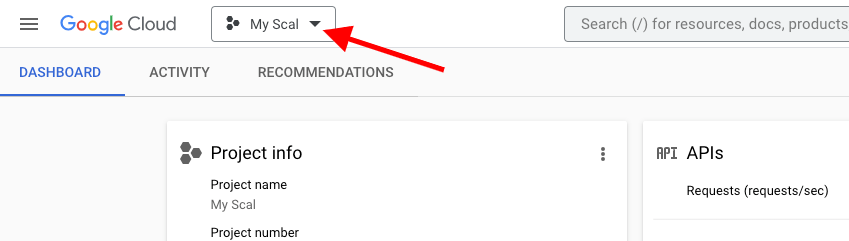
If you haven’t, from the top Project menu select Create project. Give your project a name, agree to the terms, then click Create.
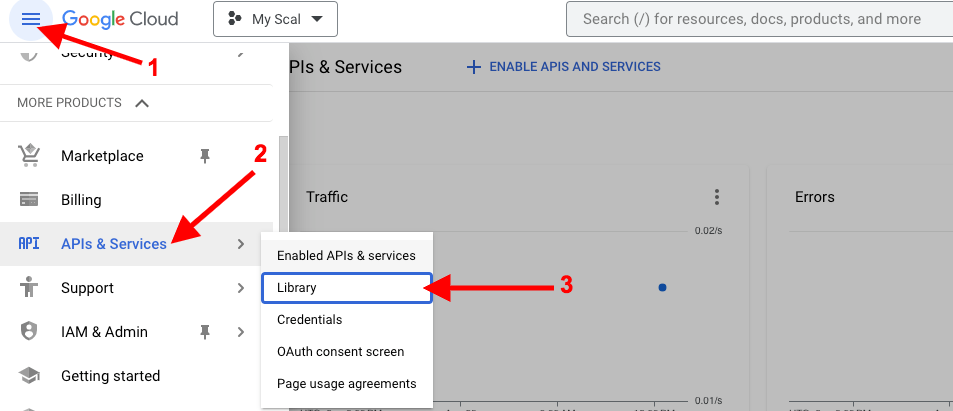
3. From the Google Developers Console Dashboard select Enable APIs and Services. If you don’t see this, select Library from the menu on the left side of the screen. If you already have a project created in the Google console using the original method, you can skip to step 5.
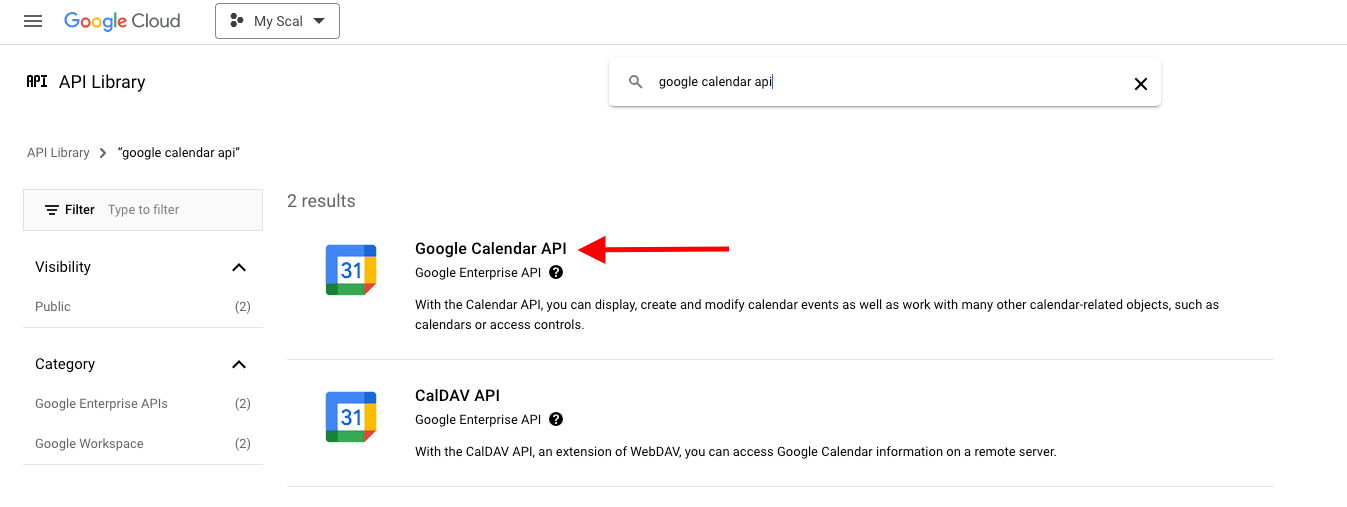
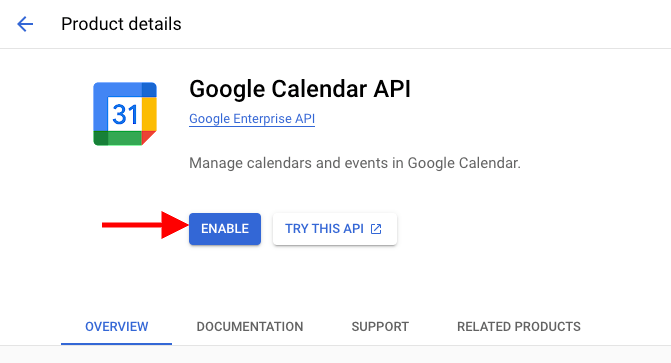
4. Under the API Library, search for and select Google Calendar API. Then click “Click Enable”.
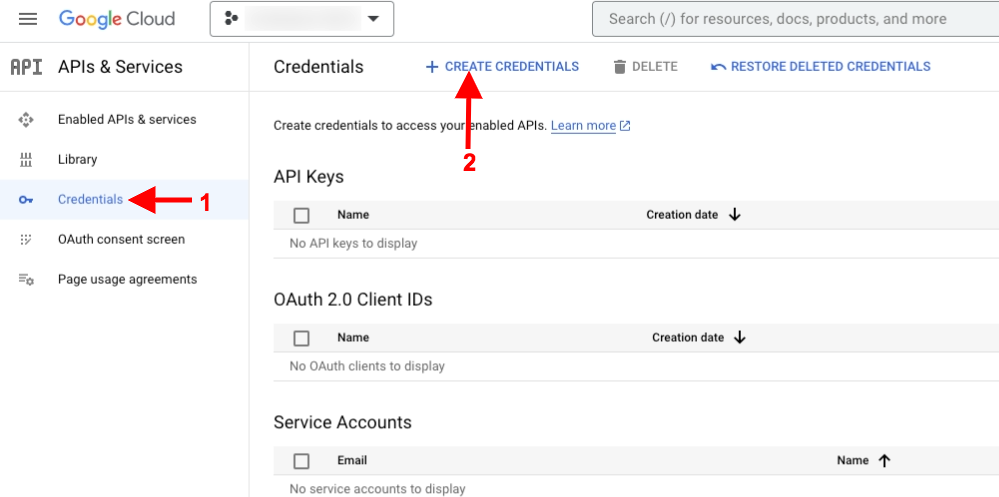
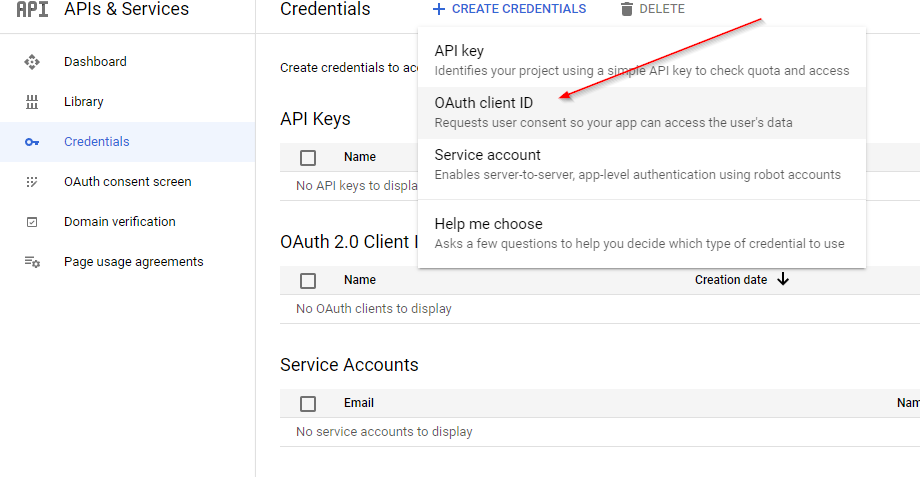
5. Select Credentials from the left-hand menu, click +CREATE CREDENTIALS, then skip the setup wizard by selecting client ID.
Select the option OAuth Client ID.
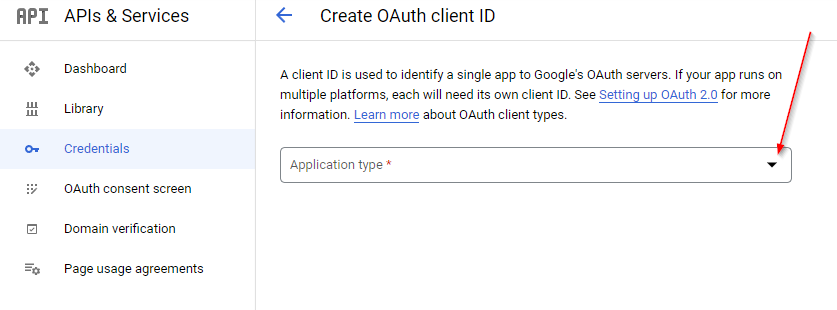
6. Assign the Application type as “Web application” .
7. Enter a name for the application (such as “Simple Calendar Client ID”) then fill in your Authorized redirect URI. This is the URL within your Redirect URL field under the Calendar > Settings on your WordPress dashboard. Once this is done, click on the Create button. Note: It may take 5 minutes to a few hours for settings to take effect.

8. Your Client ID and Client Secret should now be created. You can Copy and paste those later on.
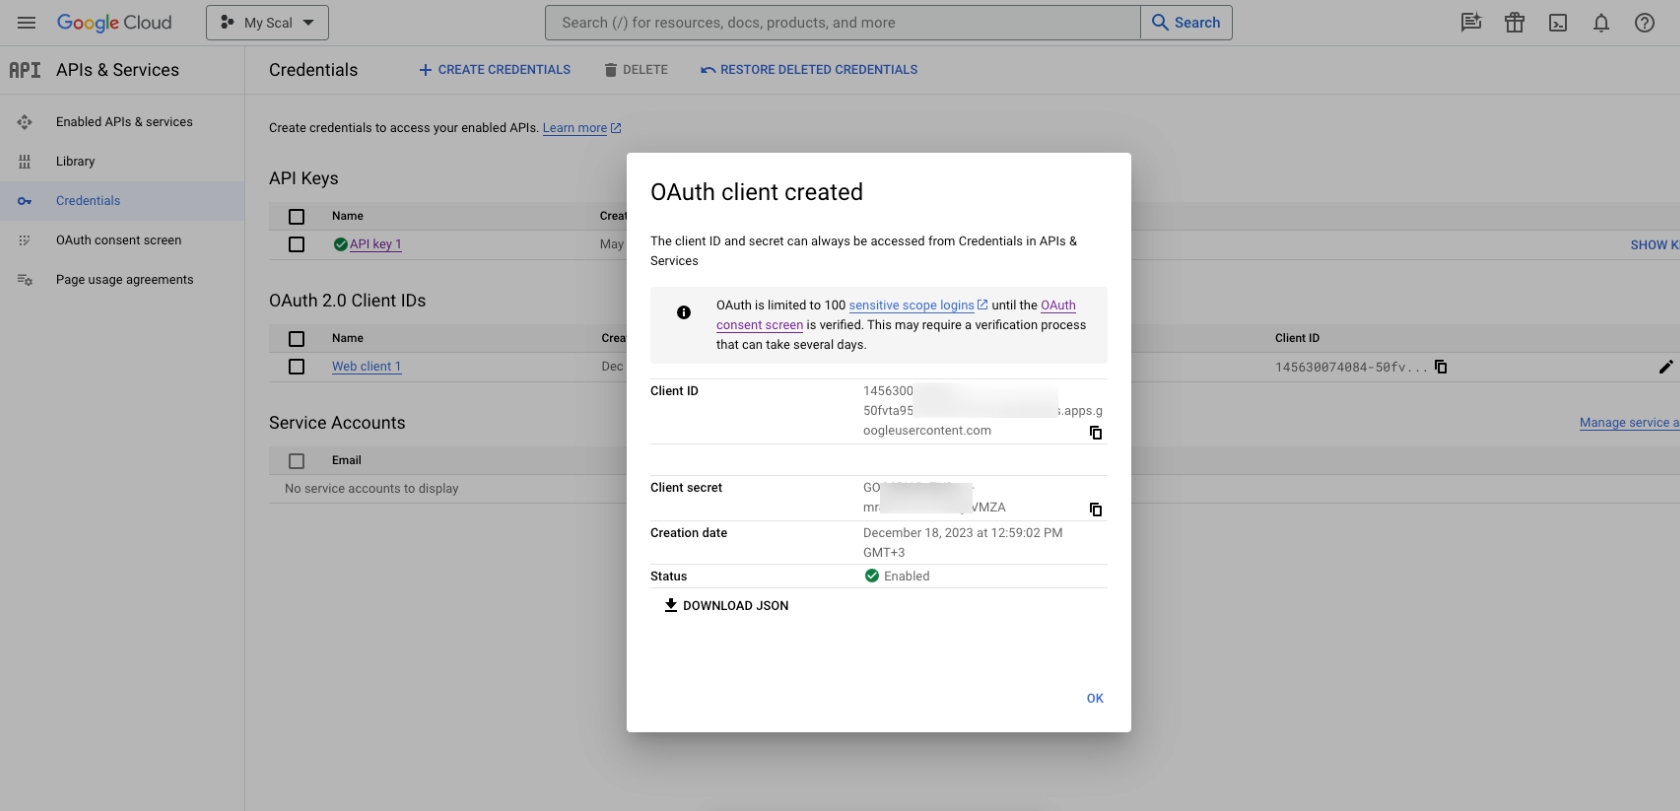
If you need to come back later to reference them, on the underlying Credentials screen under “OAuth 2.0 client IDs,” click the OAuth client ID that you just created (or the Edit/pencil icon) to view your client ID and client secret key once again.
Keep the Google Developers Console page open in one browser tab and head to your site’s WordPress admin in another tab.
9. From your WordPress admin, go to Calendars >Connect section and click on the link “or, I’ll connect manually with my own credentials”
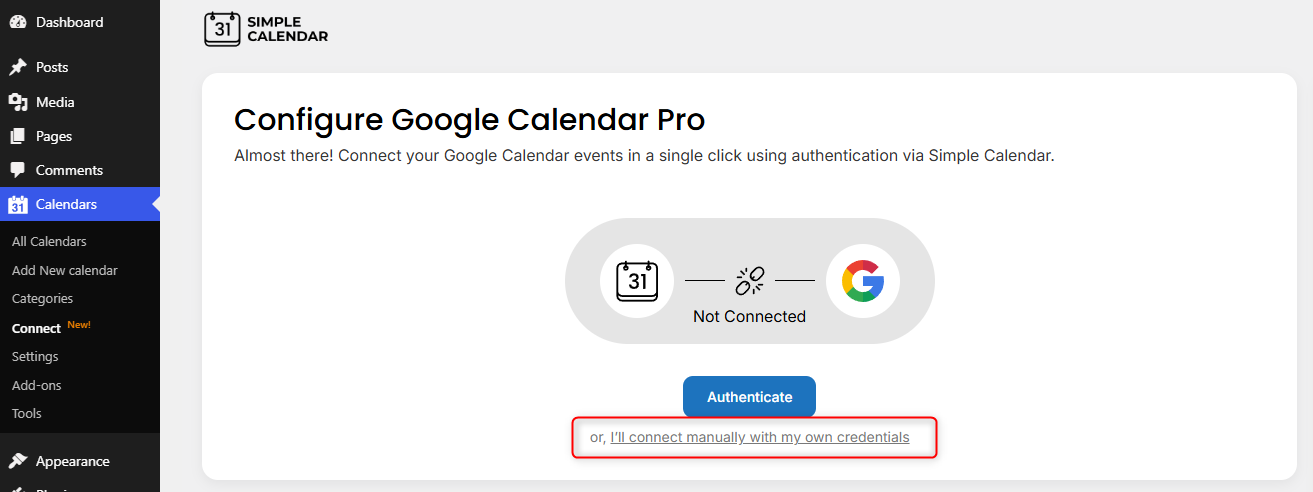
On the next screen, you will now be presented with the fields where you can add your OAuth details.
13. One at a time copy and paste the Client ID and the Client secret values from the Google Developers Console and paste them in the two fields here.
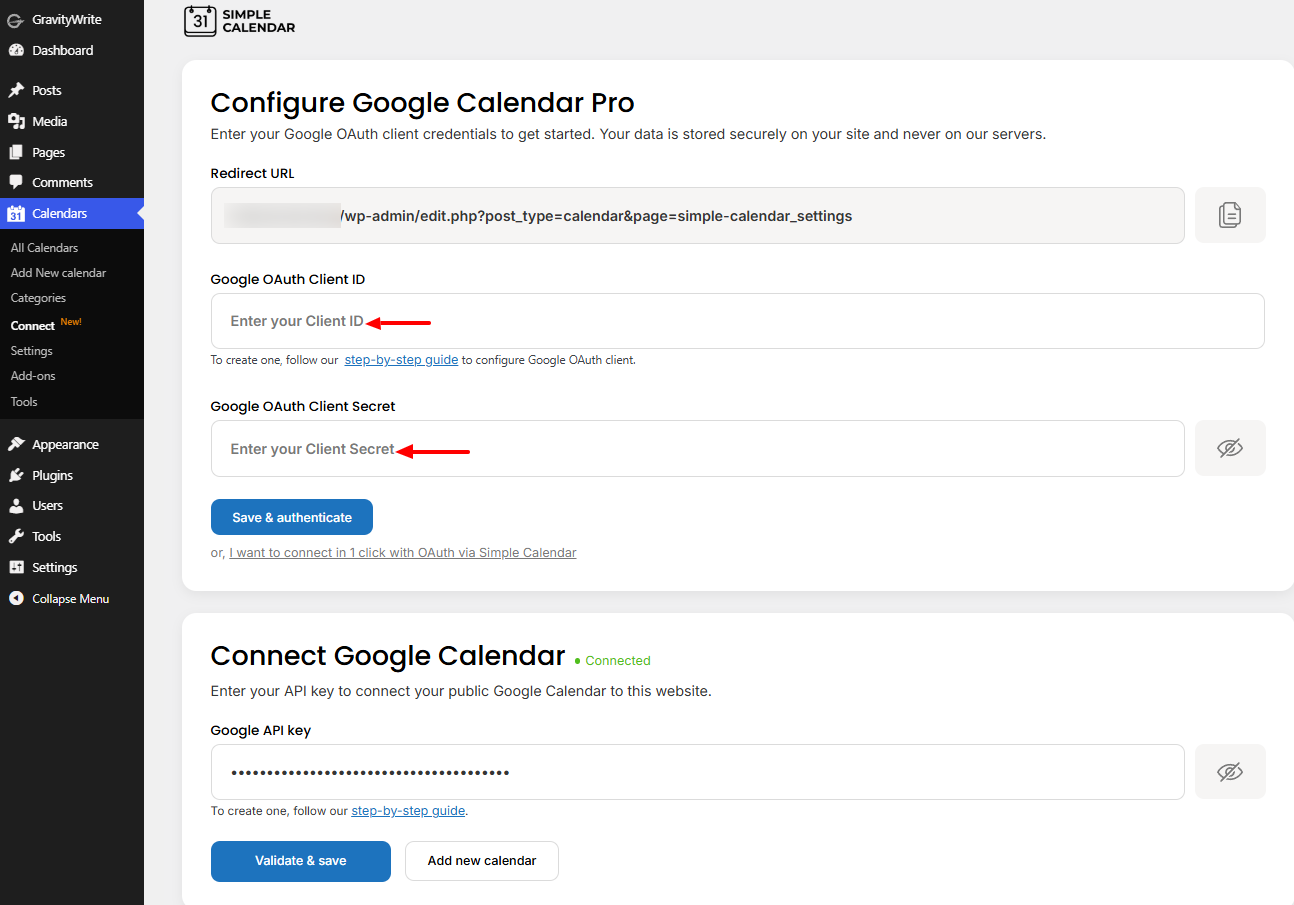
14. Next, click on the “Save & Authenticate” button

NB: If you need to verify your app, please check out the article here on how to go about this. Else you can proceed with the authentication and check all selections as illustrated below and click on the continue button:
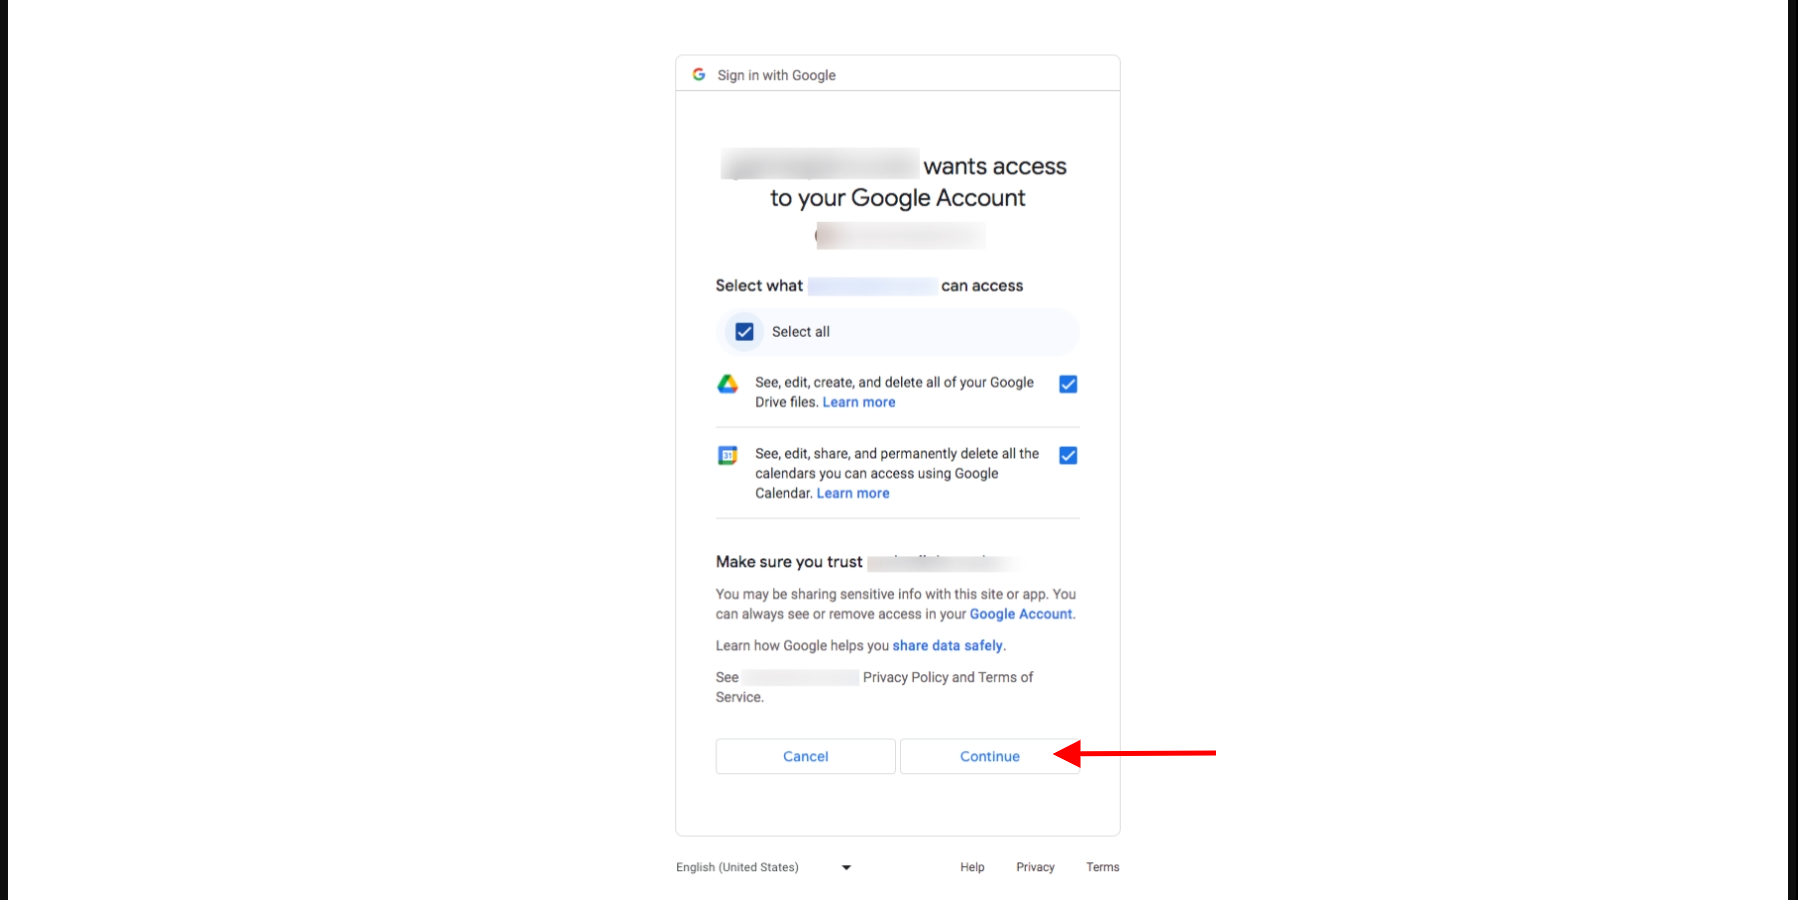
Note: If you are not currently logged in into Google, you must log in first. You are going to authorize Simple Calendar to use the calendar(s) of the Google user that is currently logged in. If you share your WordPress installation with other users, they won’t be able to control your Google account but if they have access rights to Simple Calendar they might control or read your calendars or calendars belonging to the user who has authorized Simple Calendar.