In addition to fetching events from Google Calendar, Simple Calendar supports creating and displaying local events using a dedicated Event Post Type.
This allows you to:
- Create events directly from the WordPress dashboard.
- Assign categories and tags to events.
- Add featured images to events.
- Display locally created events in a Simple Calendar.
- View individual events on their own event pages.
- Add events to Google Calendar.
To display locally created events, the calendar must use SC Event as its event source.
Creating a Local Event
Upon installing and activating the free Simple Calendar Plugin, you can create local events from the WordPress dashboard by carrying out the following:
Navigate to the Events section within your WordPress dashboard.
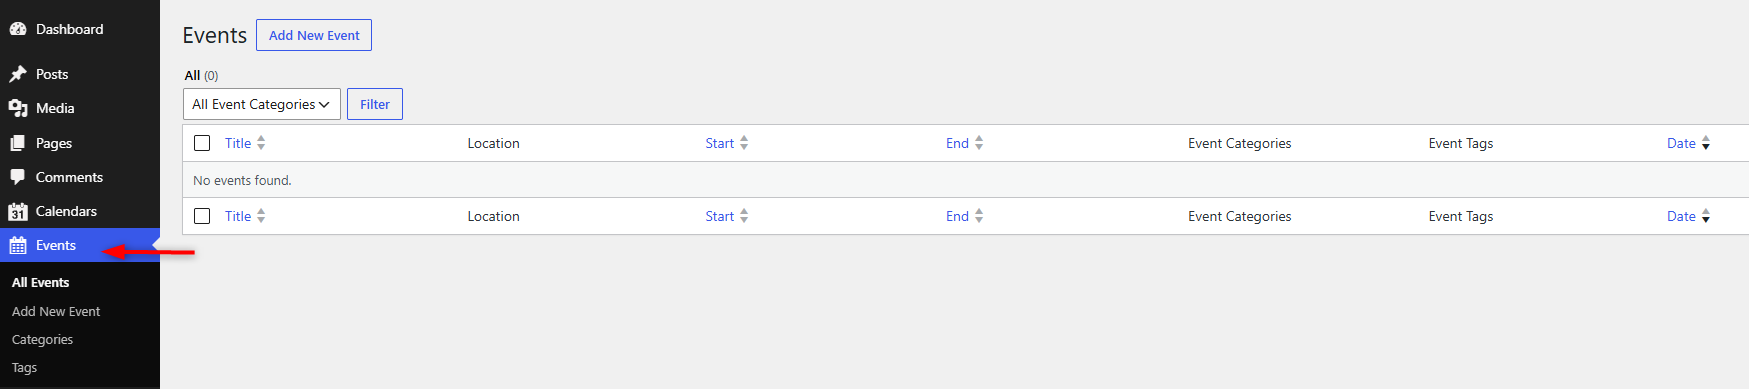
Click on the “Add New Event” button.
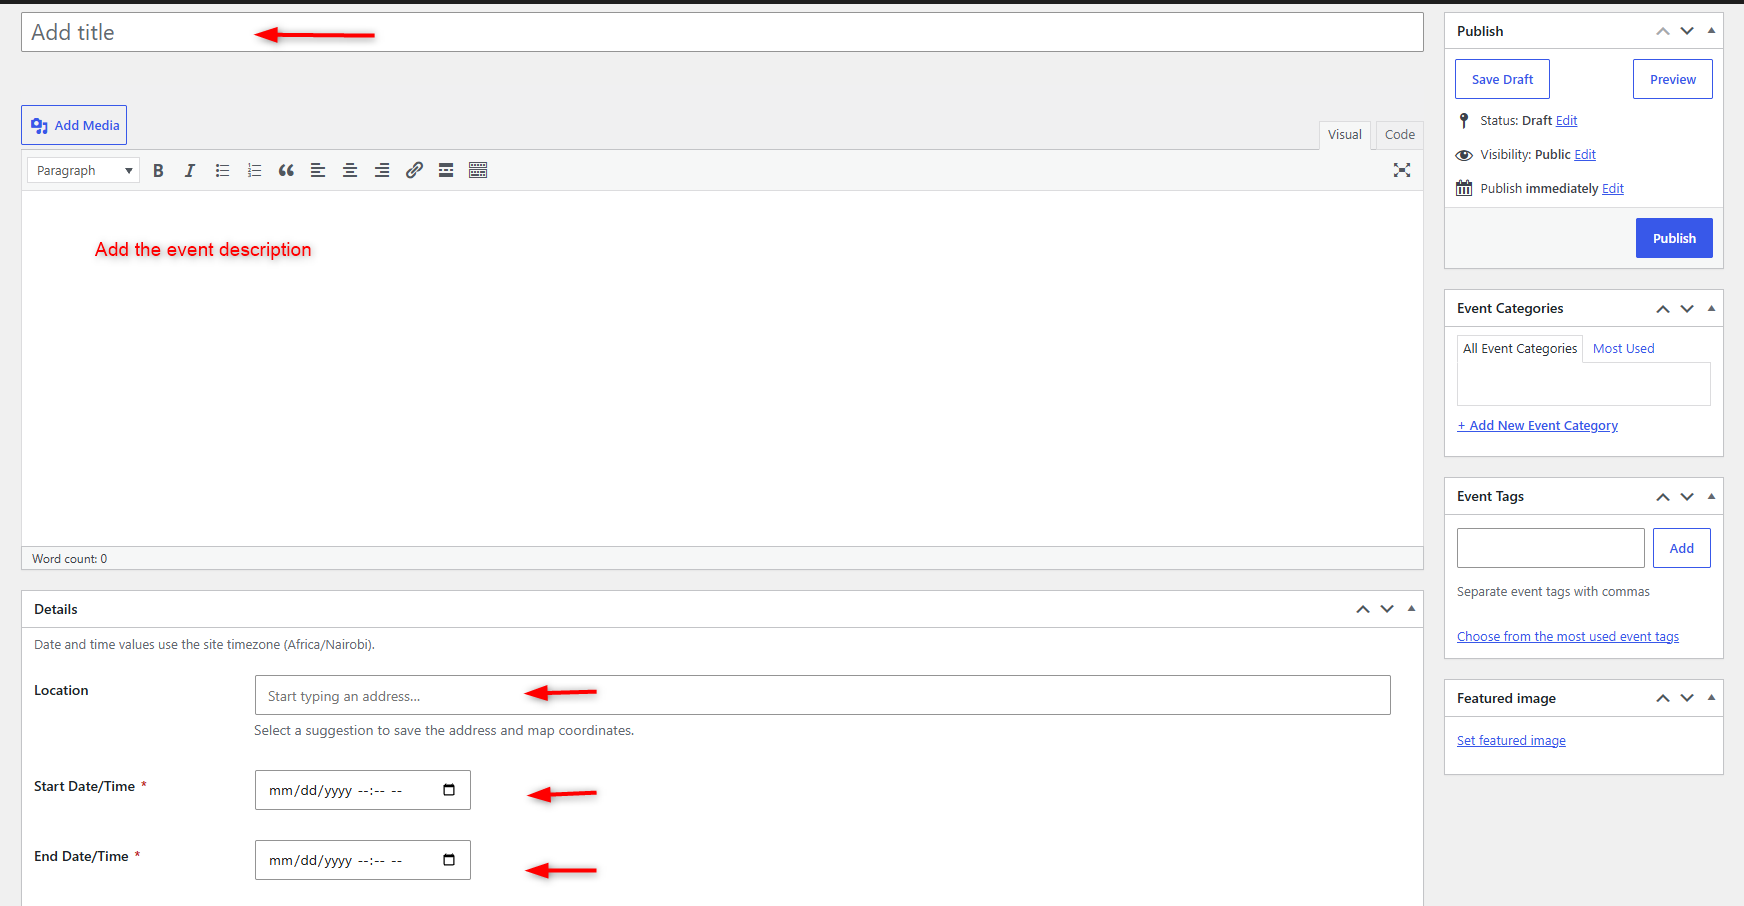
Add the relevant information for your event, including:
-
-
- Event Title
- Event Description
- Location
- Start Date/Time
- End Date/Time
-
Next, add / assign both an event category and event tag to the event.
While doing so, it is important to note that categories will later be used to determine which events are displayed on a calendar.
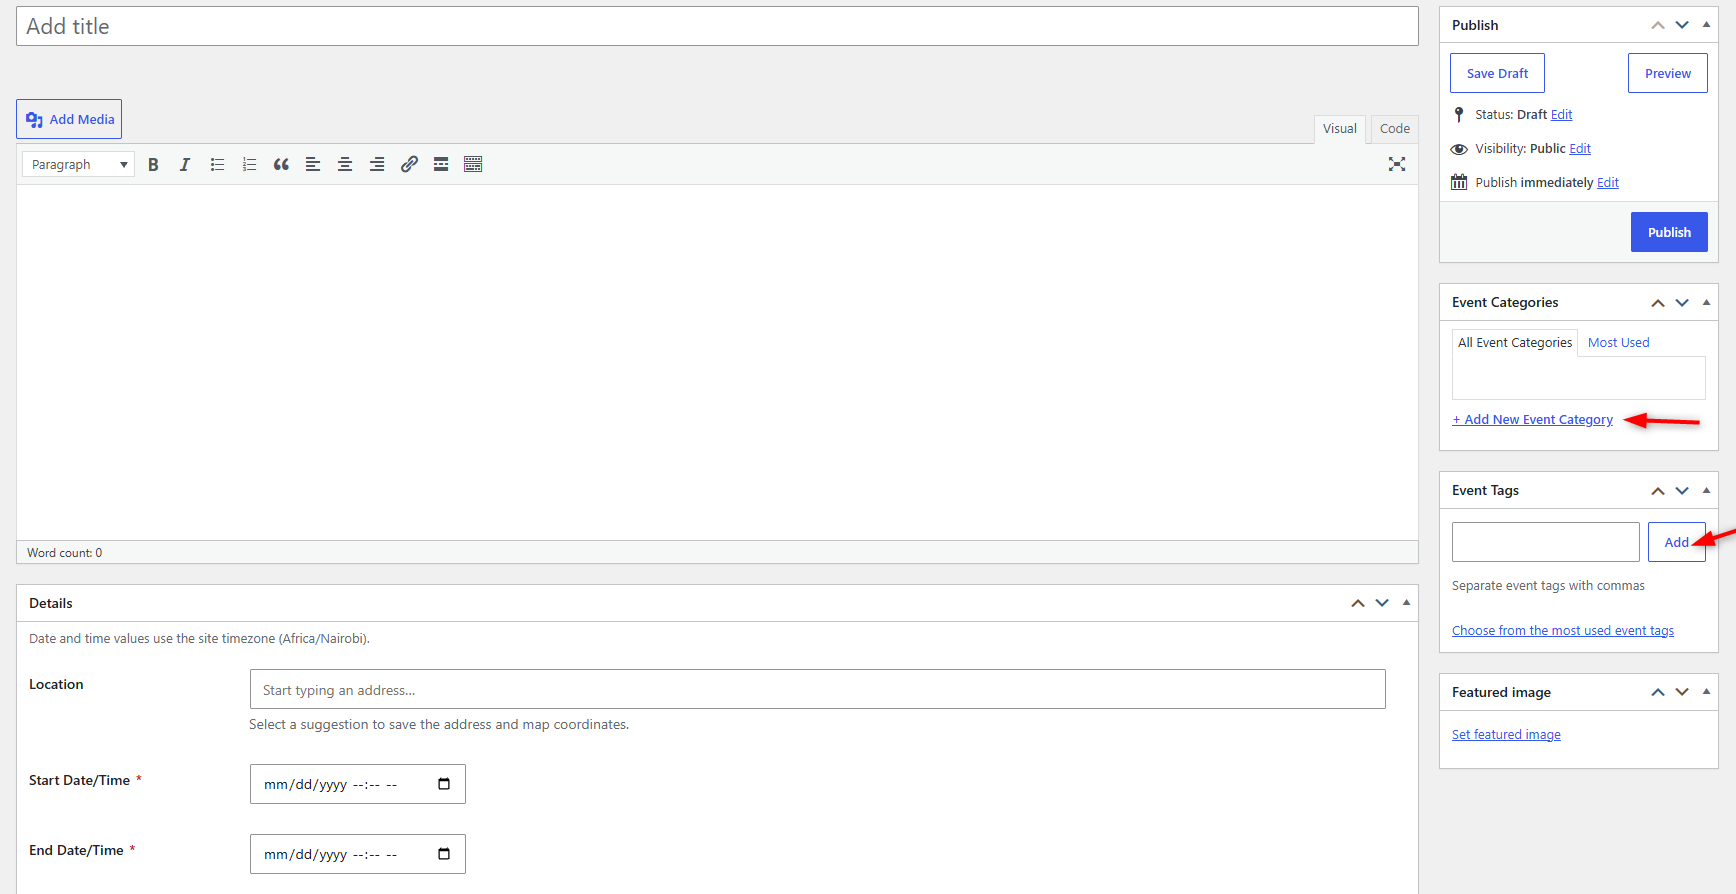
Assign a featured image to the event by clicking on the “set featured image” link on the Featured image section, if you wish to have featured images for your events.
Once you have entered all the required event information, click Publish. You can create as many events as needed using the same process. All locally created events will be available within the Events post type.
Displaying Events on a Calendar
After creating your local events, you need to configure a calendar to display them. To do so:
Navigate to the Calendars section within your WordPress dashboard and click on the “Add New Calendar” button.
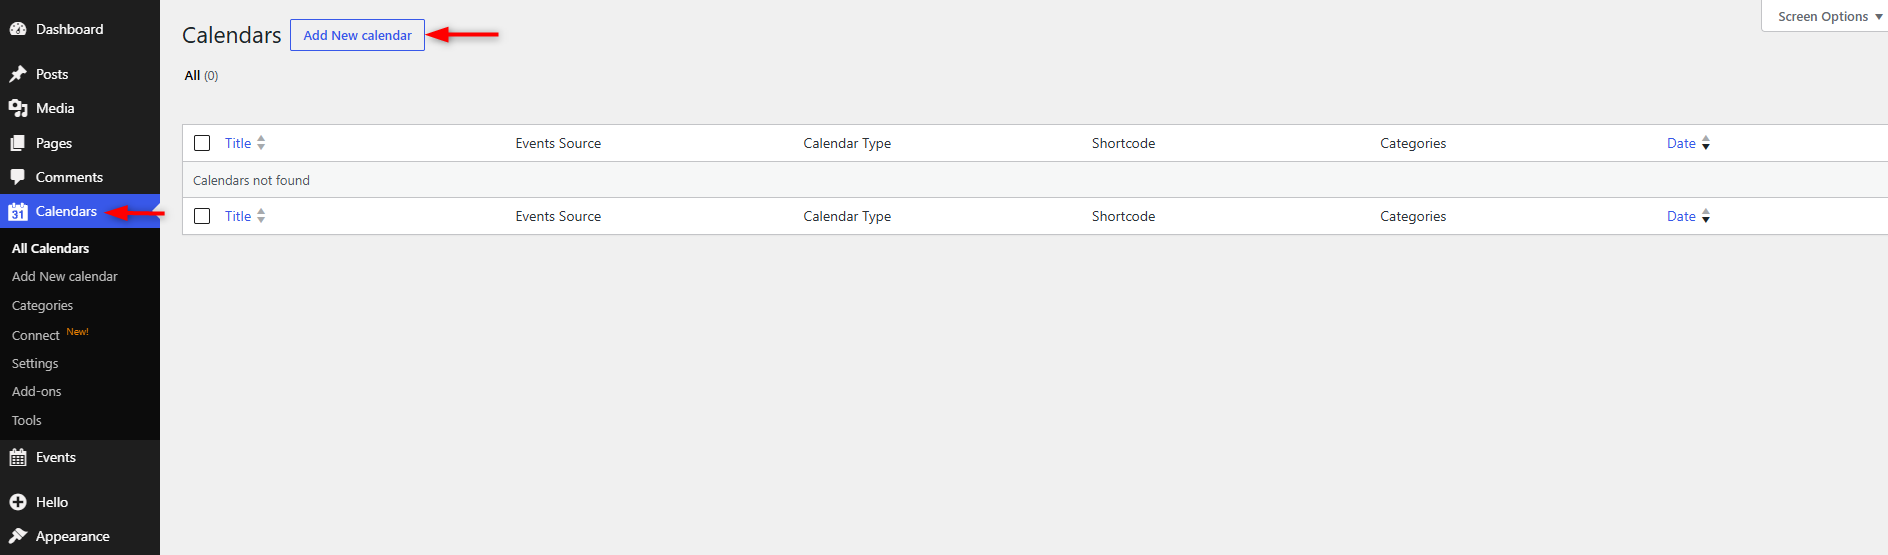
Add your desired calendar title and event tags.
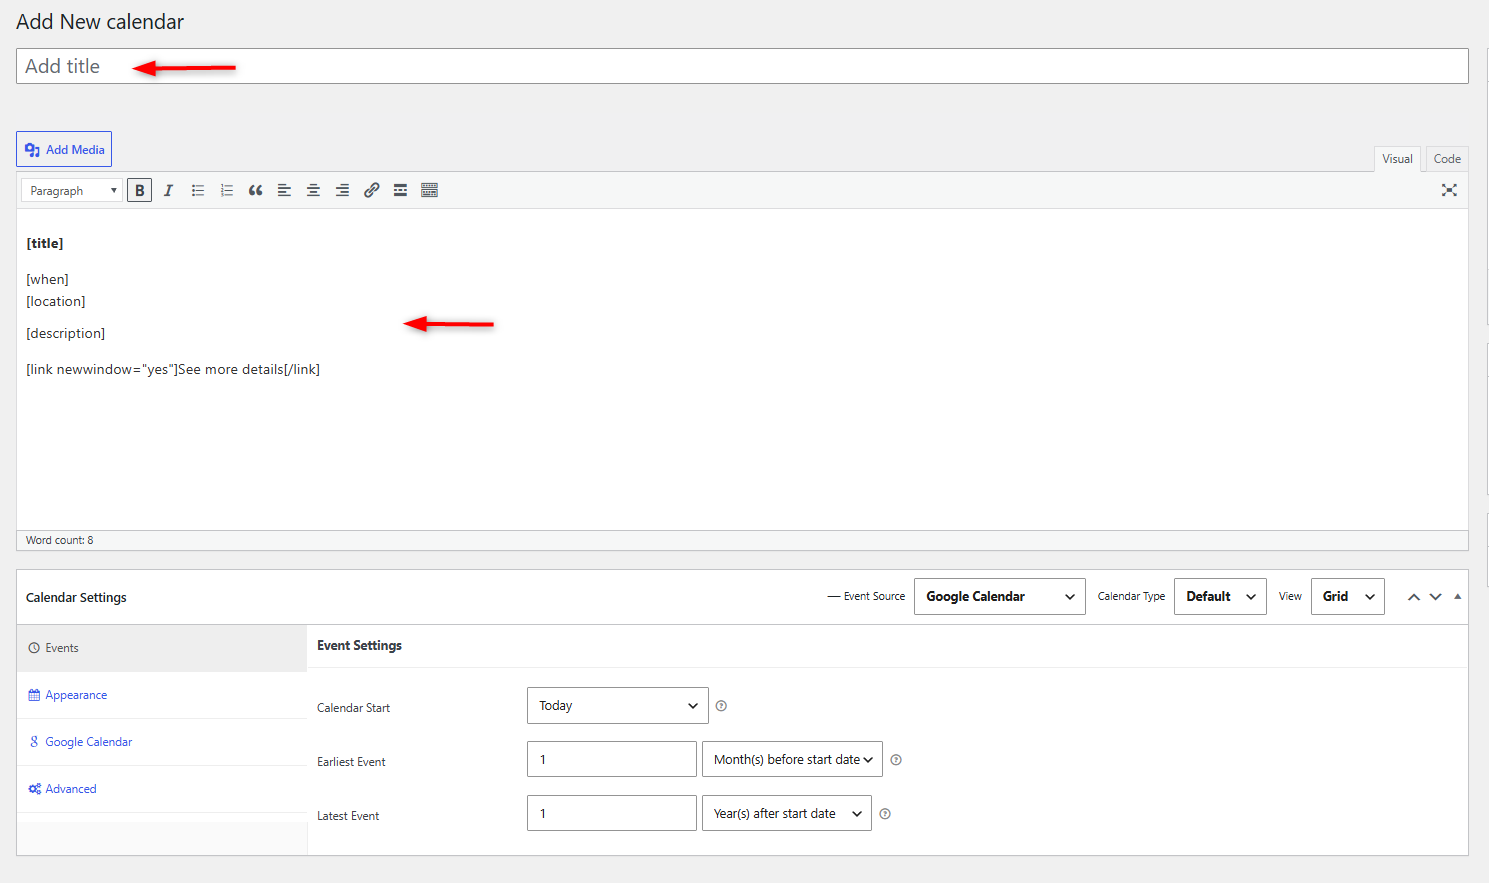
Within the Event Source field, select the option “SC Event” . This tells Simple Calendar to use locally created events as the calendar’s event source.
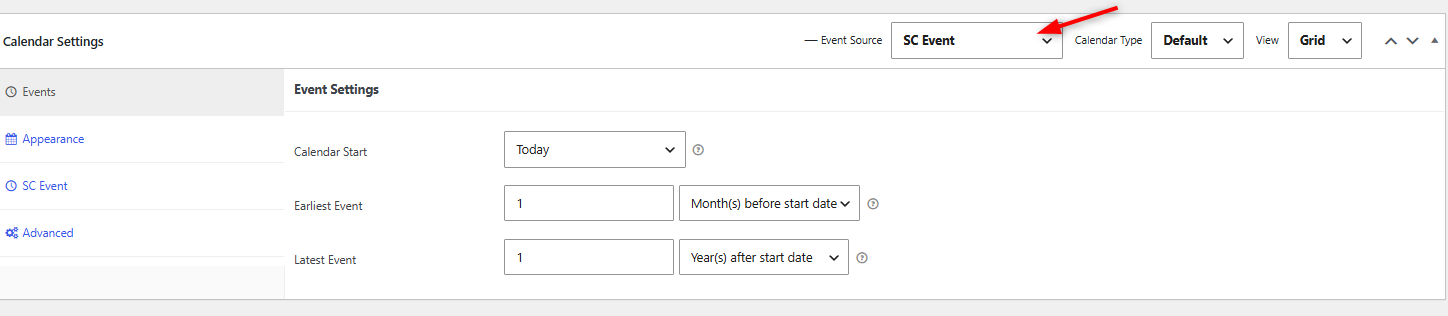
Configure the Event Settings according to the timeline you want your calendar to display.
For example, you can configure the calendar’s start and end event timelines from the available settings.
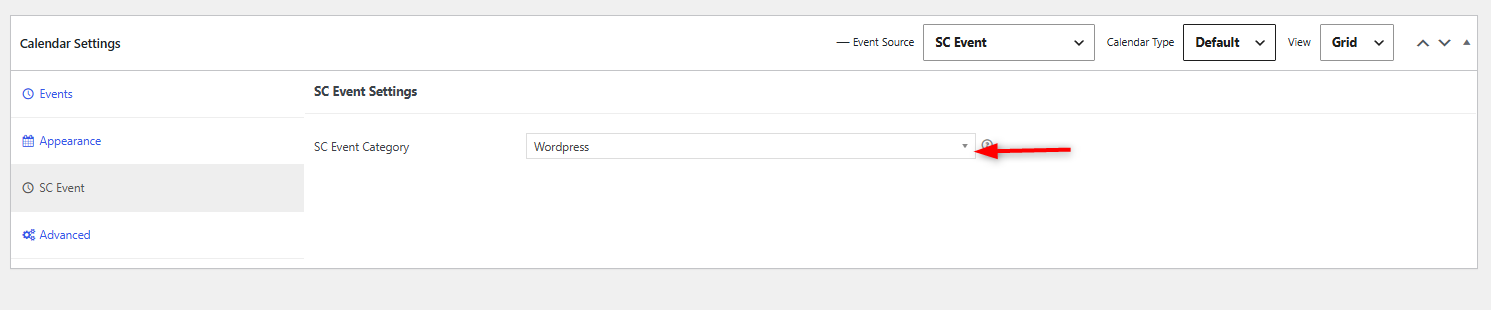
Head over to the “SC Event” tab, and within the “SC Event Category” field, select the category whose events you want rendered.
Publish your calendar.
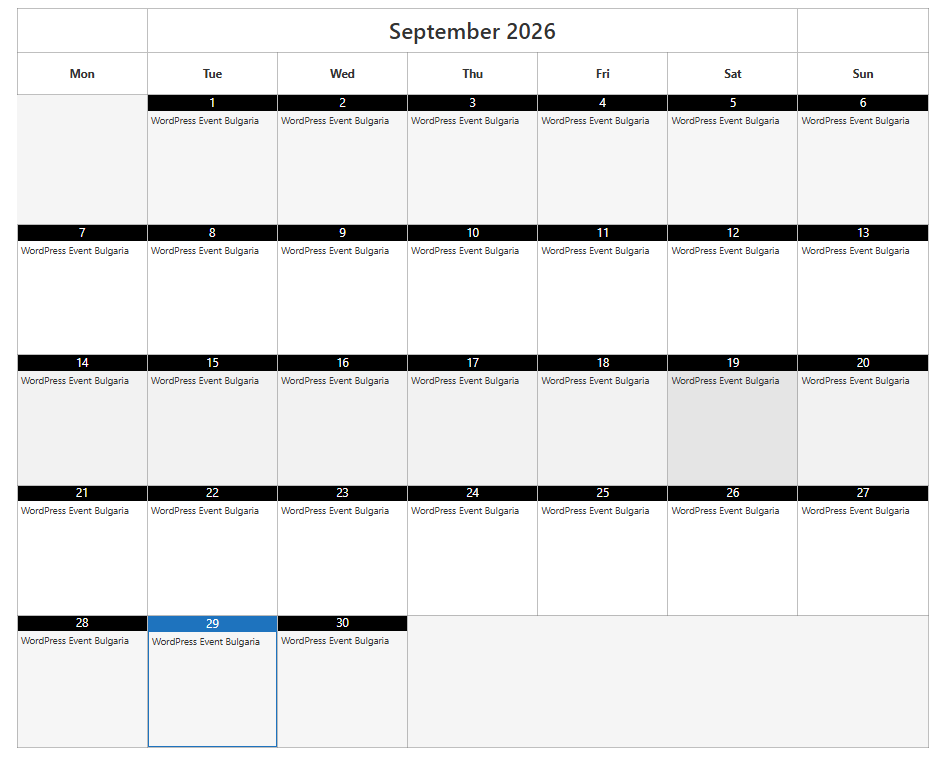
Upon previewing the calendar on the front-end, the calendar should then display the events belonging to the selected SC Event Category.
Adding a Local Event to Google Calendar
Locally created events can also be added to Google Calendar. There are two approaches you can use.
Approach 1: Add an “Add to Google Calendar” Link to the Calendar
You can add an Add to Google Calendar link directly to events displayed within your calendar. To do so, add the following Event Template Tag to your calendar:
[add-to-gcal-link]Add to Google Calendar[/add-to-gcal-link]

After adding the template tag, click the Update button to save your calendar.
Preview the calendar on the front end. When you click the Add to Google Calendar link on an event, you will be redirected to Google Calendar, where you can proceed with adding the event to your calendar.
Approach 2: Add the Event from Its Single Event Page
You can also add a local event to Google Calendar directly from the event’s single event page. To accomplish this:
Navigate to the events section within your dashboard.
Locate the event you want to add to Google Calendar and open the event on the front end.
On the event page, click on the “Add to Gcal” button.
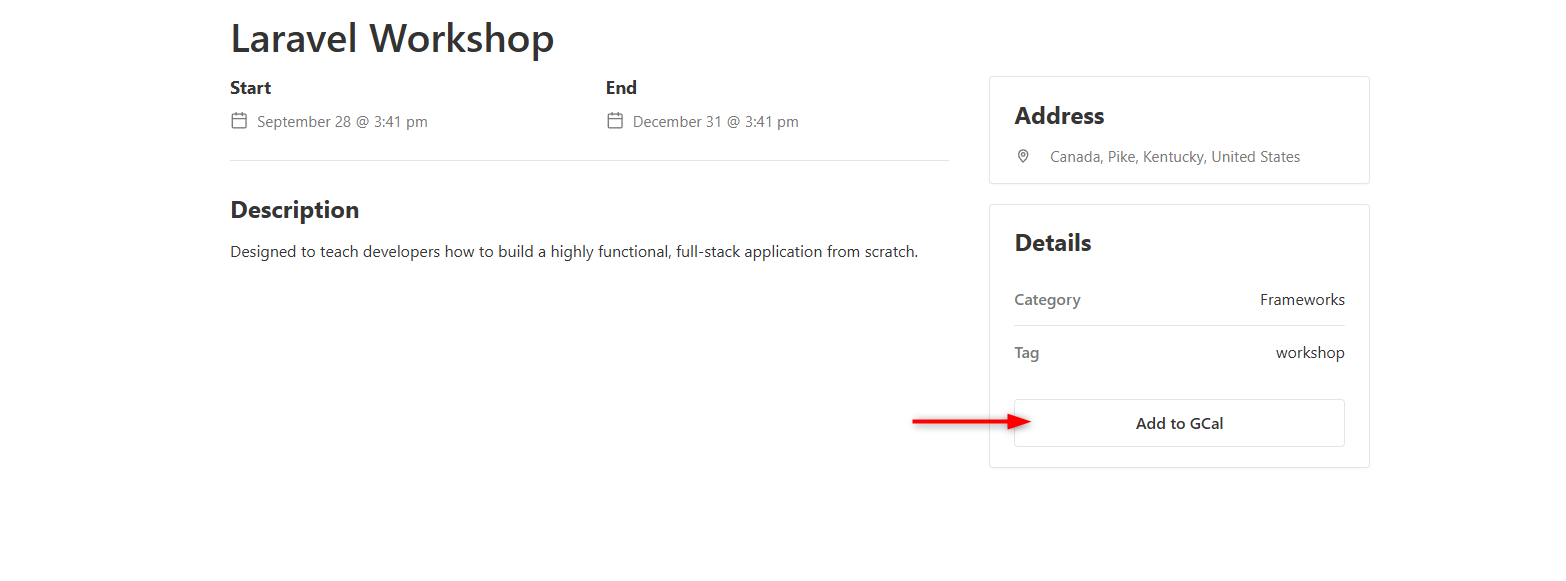
This will open the event in Google Calendar in a new browser tab.
Once the event has opened in Google Calendar, proceed with adding it to your Google Calendar.