Authentication via Simple Calendar is easy as compared to the manual Google Authentication process.
Previously we had the OAuth Helper addon but you now do not need to install the addon as it is already integrated into Simple Calendar plugin. If you hence had the addon installed ensure that you first disable it.
In order to now Authenticate via Simple Calendar, you will need to first ensure that you have the latest version of the Simple Calendar plugin and the Google Calendar Pro addon. Next, you can then carry out the authentication as outlined below:
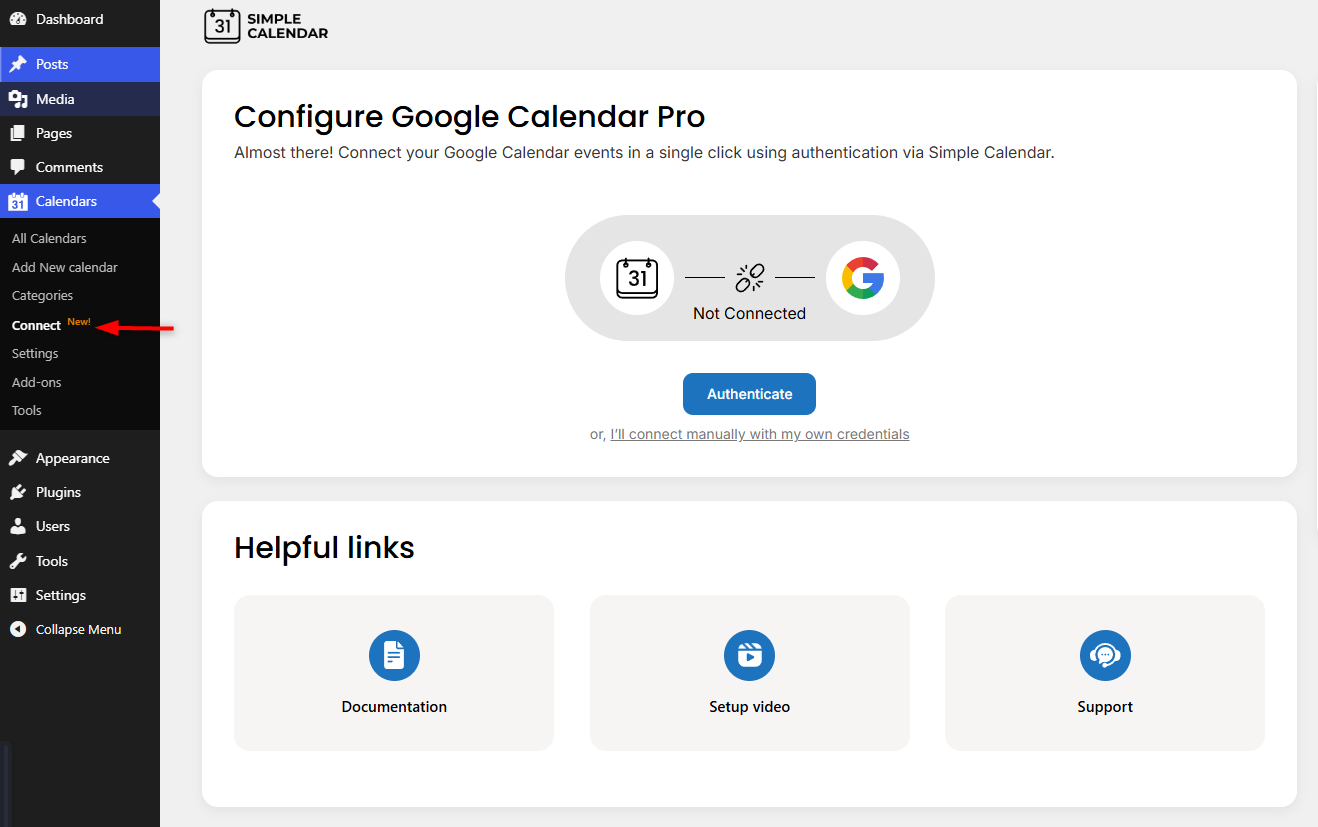
1. Navigate to the Calendars > Connect section within your WordPress dashboard:
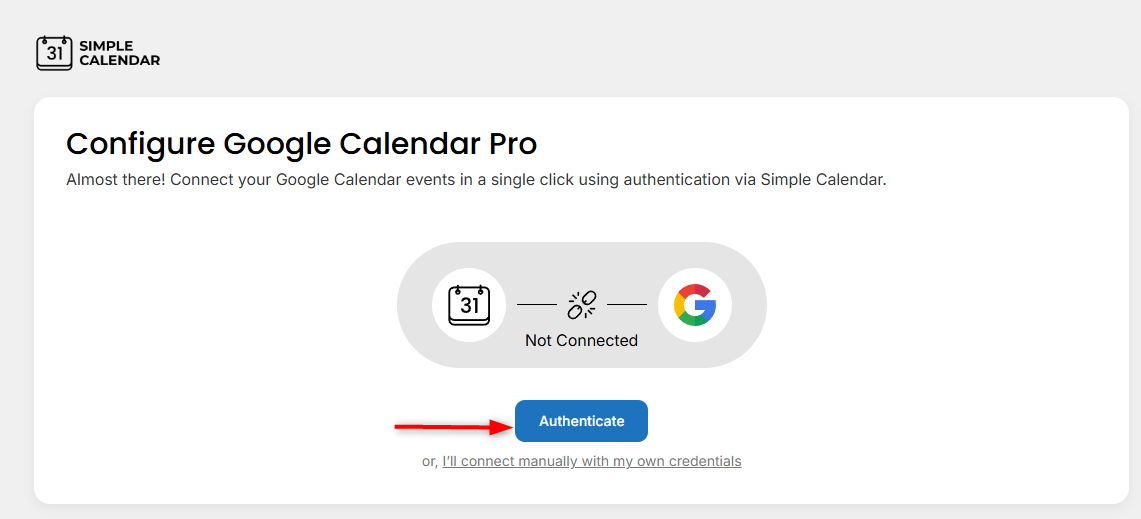
2. Next, click on the “Authenticate” button
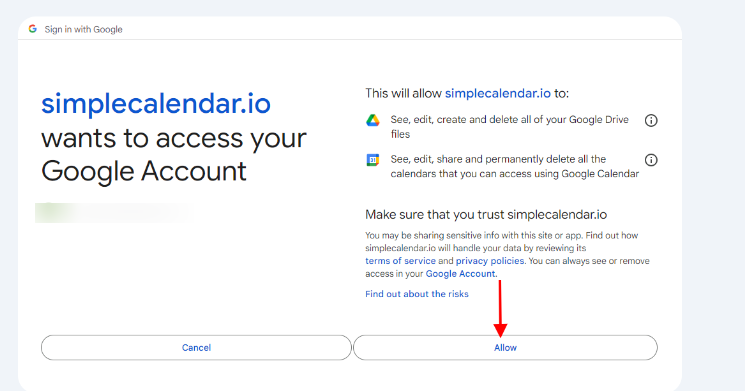
3. You will be redirected to a screen where you will need to choose the Google account you will use to authorize. Please do note that the account that you choose is the one whose calendars will be retrieved.
5. On the next screen, select to allow simplecalendar.io to access your Google Account
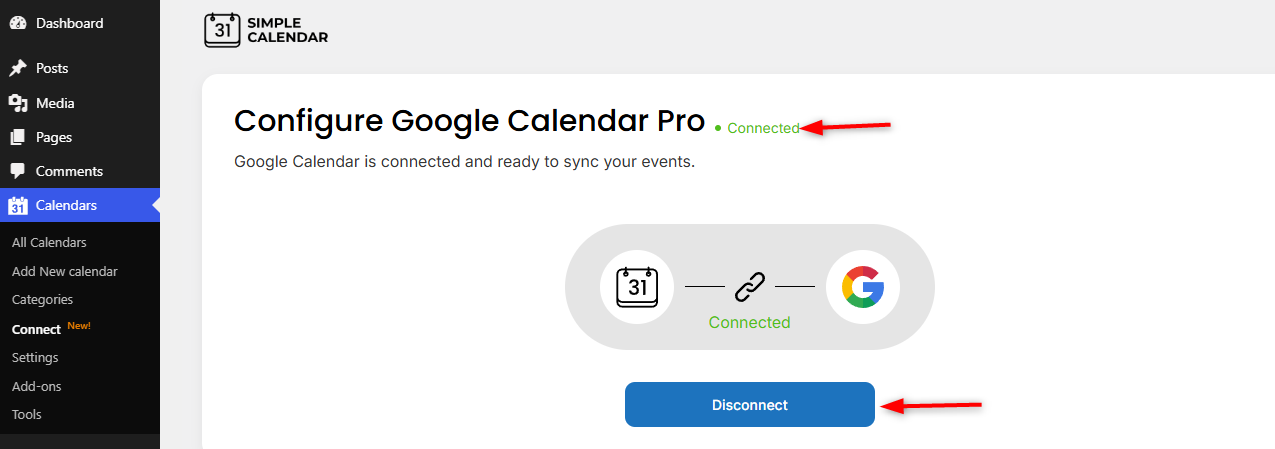
6. You will then be redirected to the Calendar connection page after a successful authentication.
The connection status will now be set to “connected” and the “Authenticate” button within the connect section will now be replaced by the “Disconnect” button. You can click on it if you wish to disconnect your website.
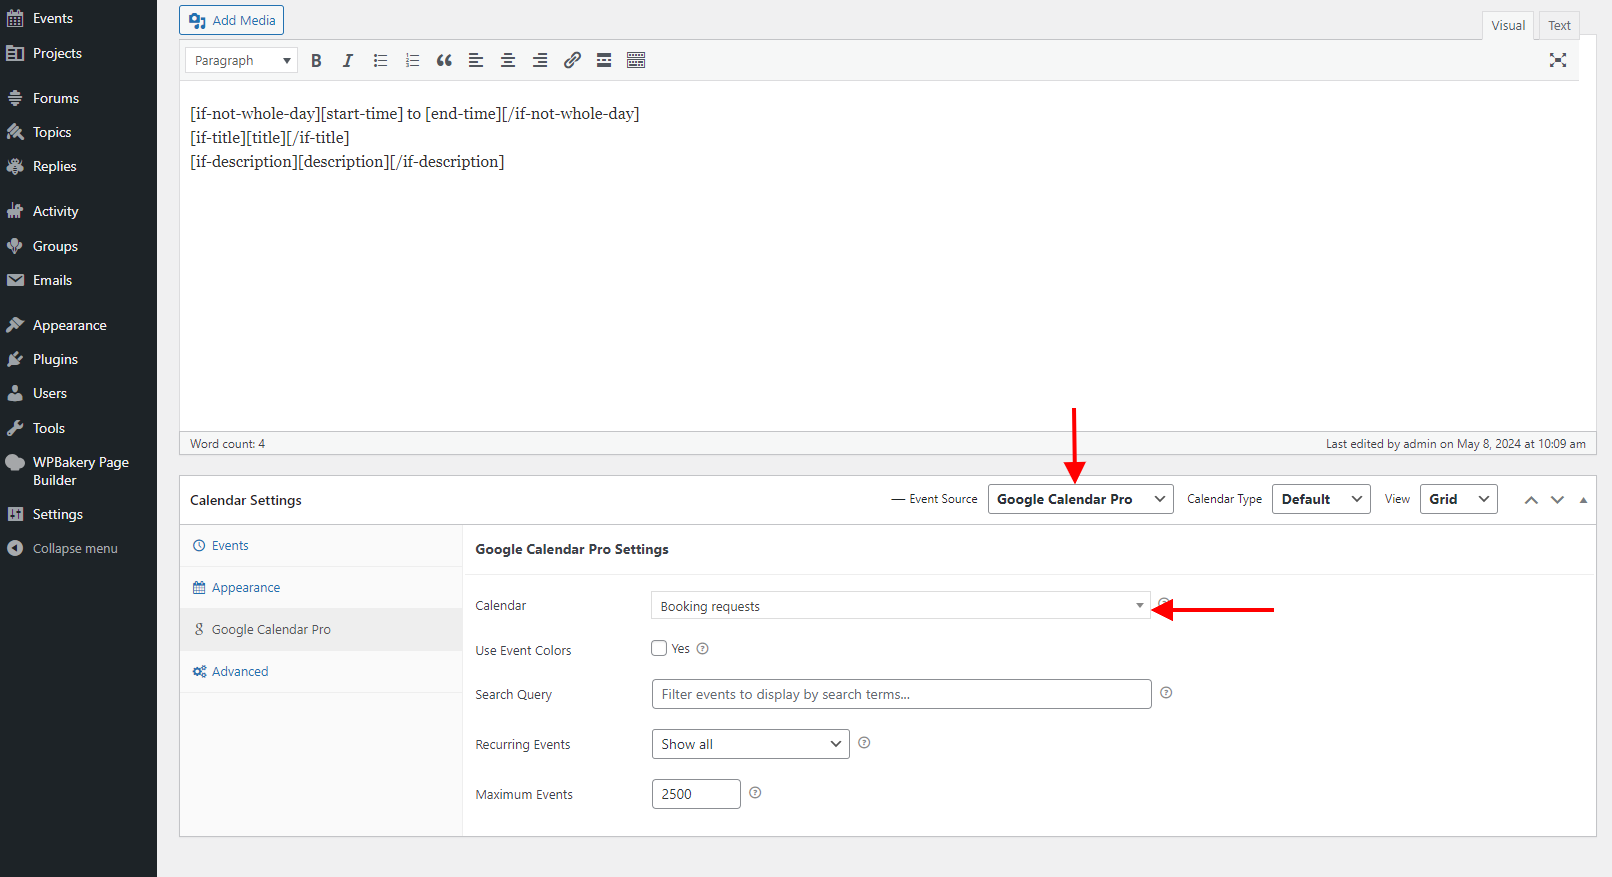
With the above steps carried out, you should now be in a position to assign Google calendars within calendars that you have setup within your website as seen in the example screenshot below: