In order to utilize the Simple Calendar – Book Appointment addon, you will need to carry out the following:
- Ensure that you first properly Configure your Google OAuth Client details as outlined here: GCal Pro – How to Properly Configure the Google OAuth Client .
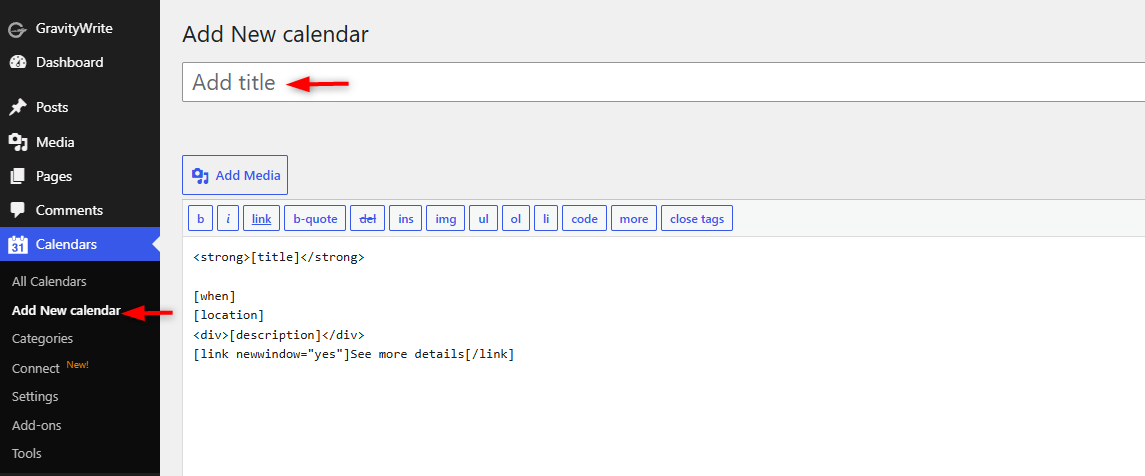
- Navigate to the Calendars > Add New section within your WordPress dashboard and add your calendar title as illustrated below:
- Within the calendar settings on the calendar, set the Event source to “Google Calendar Pro”, and the Calendar Type to “Book Appointment”. It is also important to note that there is only a “Grid” view display. Below is a screenshot on this:
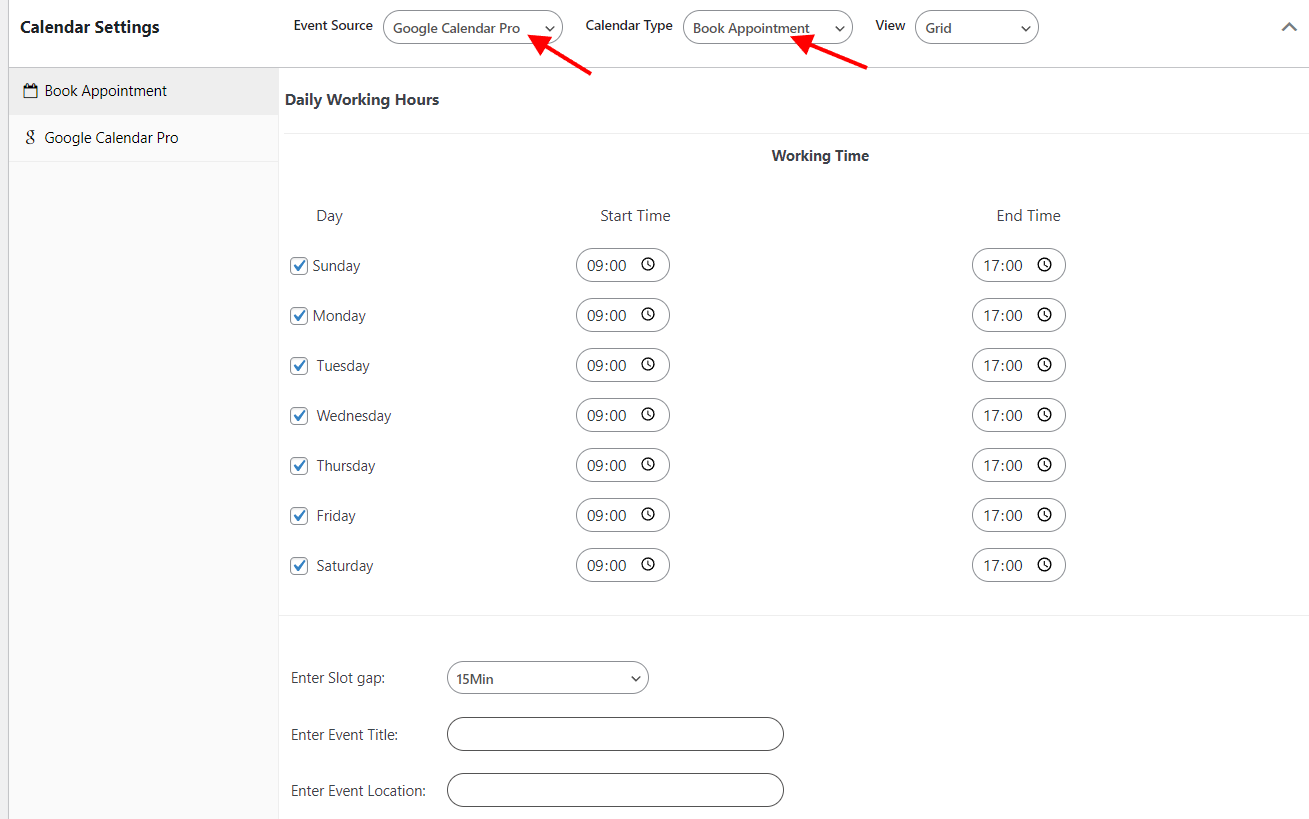
- Next, select your available days and working hours. By default all days are selected, but you can uncheck the days that you will not be available.
Within the start time and end time fields on the respective days you can set your working hours.
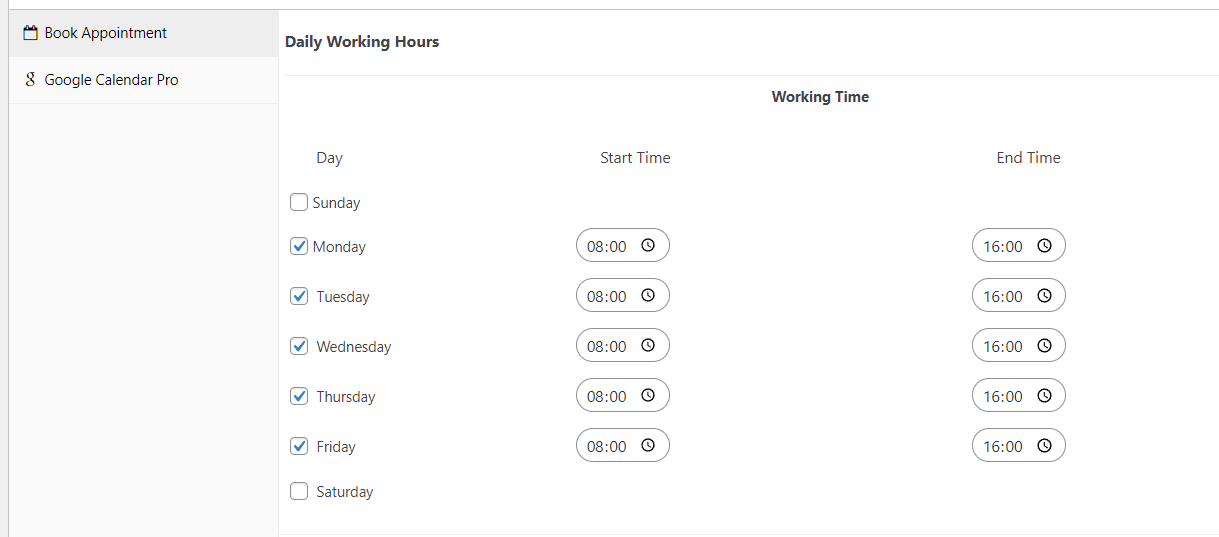
Let’s say that for example you are only available as from 08:00 to 16:00 only on weekdays, the setup will be as rendered in the screenshot below:
- Within the slot gap field, set the amount of time that you would like your appointments to take.
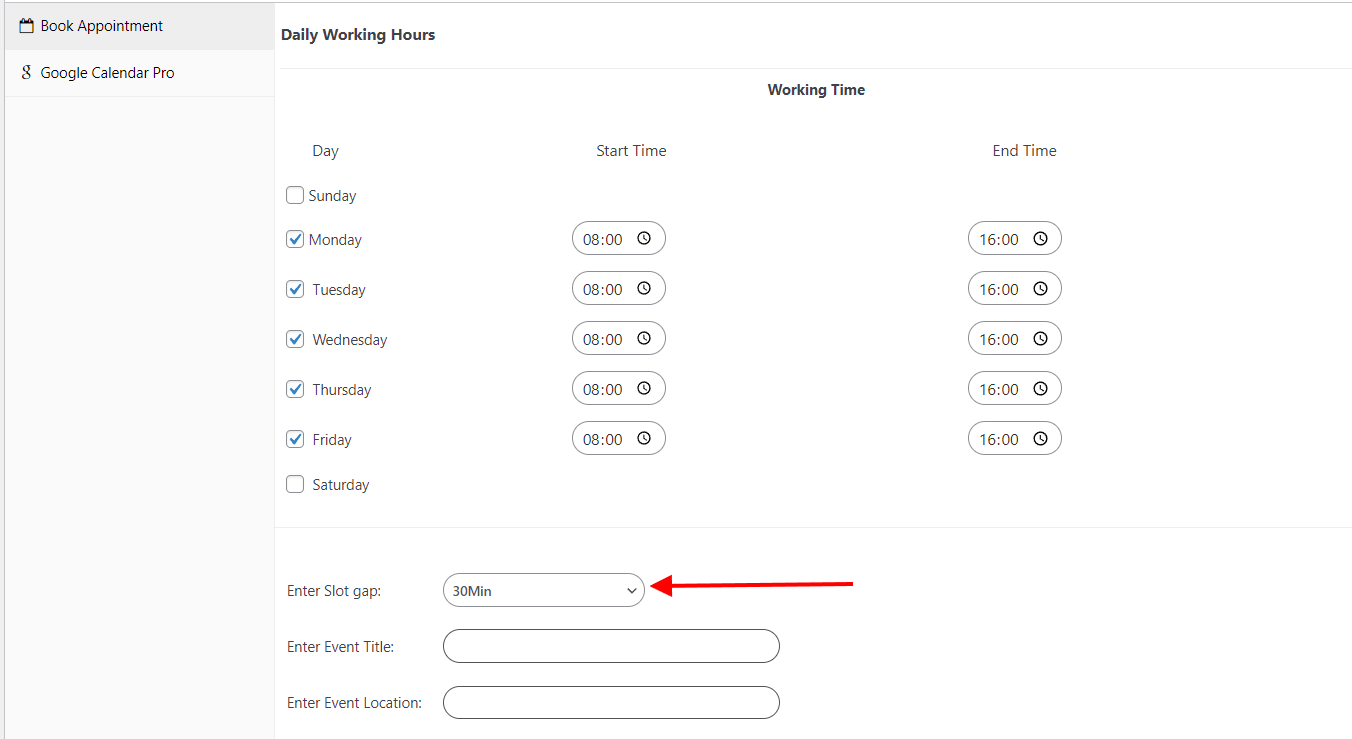
- Next, fill in your Event title within the “Event Title” field. The title set here will be your Google Calendar Meeting / Event Title.
- Fill in the event location within the “Event Location” if necessary.
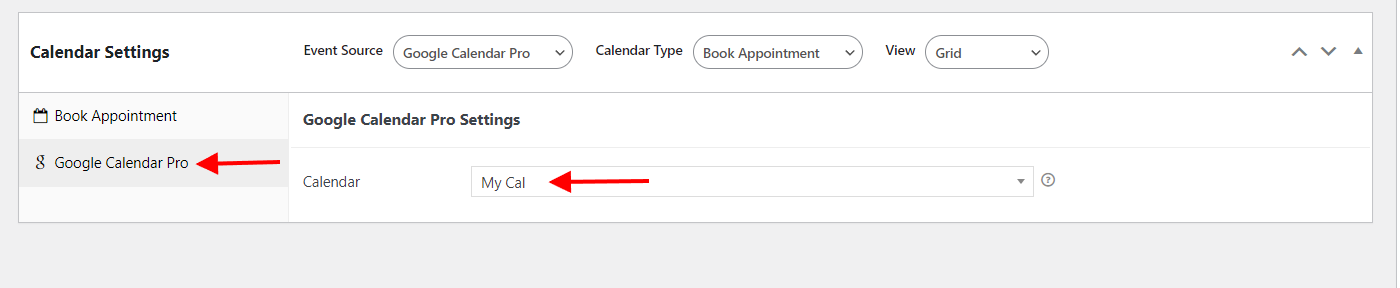
- Click on the “Google Calendar Pro” tab and within the “Calendar” field, select the calendar that you wish to use for your bookings. Below is a sample illustration on this.

- Save your calendar.